Wednesday, April 22, 2015

Vogue 1314 review: BCBG Knock Off Dress with Lace Embellished Yoke


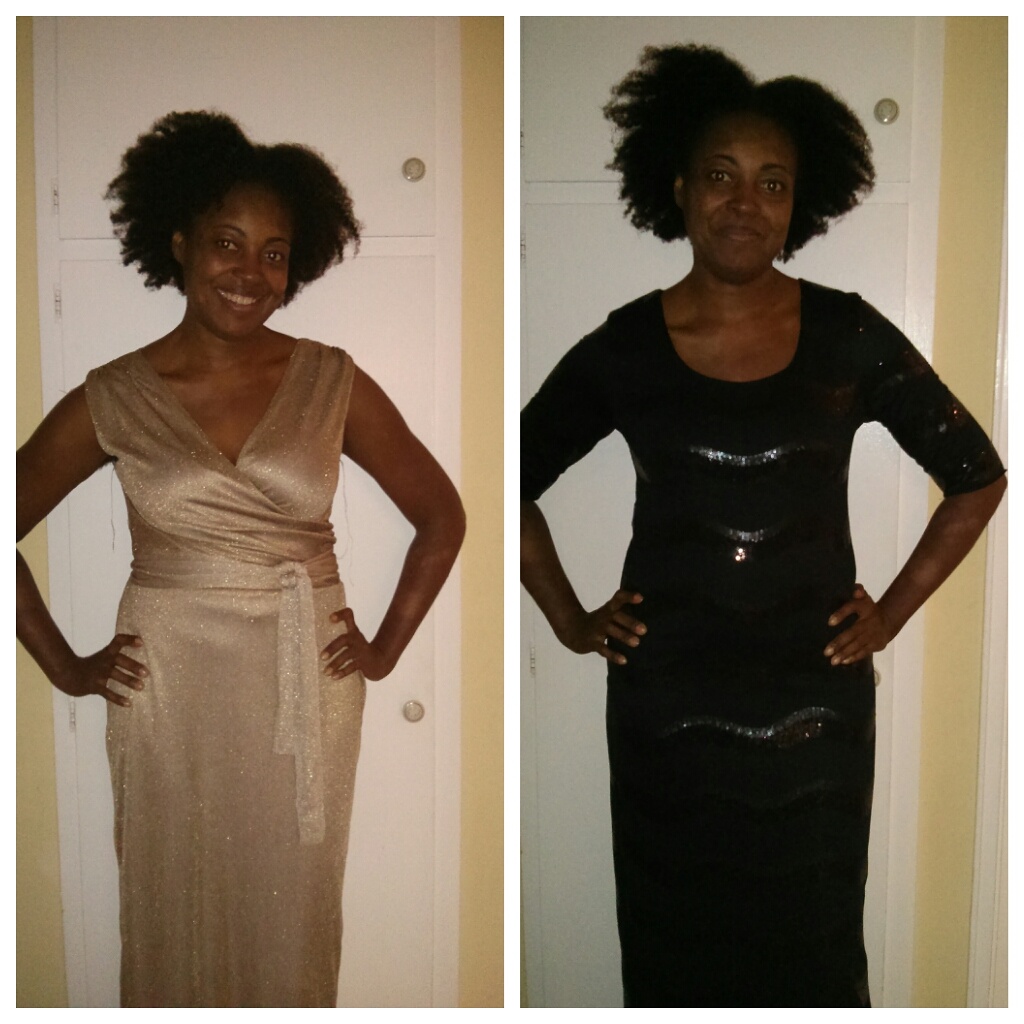
One of my favorite brands is BCBG Max Azria. Their outfits are so edgy and feminine. When I entered the PR Best Patterns contest, I wanted to make use the Vogue 1314 dress pattern to make the BCBG Valery asymmetrical ruched dress that I pinned a while ago! I made the dress but, you know the story!!!


The BCBG dress is lovely but I didn't want to make another LBD so I decided to use a lovely pink knit fabric that's been in my stash for years. I don't recall where I got it from. As for the lace, I found a paisley lace in my stash that fit the bill.
Now, you know I love challenges when it comes to sewing. As if a homeschool mom needs more challenge in her life! Lol!
First challenge was drafting the yoke and the cut-out. It was actually easier than I thought. All I did was draw a line from the shoulder to the armhole and use the sleeve ruler to draw a little oval shaped cut-out.
Once the yoke was cut and sewed, I thought the front needed a bit more lace so I cut out some more lace using the paisley shape and hand tacked it to the front.


Second challenge was adding an exposed zipper to the back of a side ruched dress!!!! During the process I kept on telling myself, it's time to follow a pattern to the T and stop tweaking!! But who am I kidding! I just love deconstructing patterns. Since the pattern doesn't call for a zipper, I cut 2 back pieces instead of the fold and added a 1 inch seam allowance.


I fully lined it with a wine colored knit lining from the stash. It helped with enclosing the yoke. As for the sizing I cut a 12 and took in about an inch on the sides for a snug fit. I also pegged the dress at the hem with a 4" difference.
As for ruching, I find it easier and faster to baste the front and back together at the sides, which works best with light to medium weight fabrics because it's less bulky. Then I gather and serge with a 1/4" elastic cut to the desired length of your finished gathers. Clear as mud?

If you follow me on Instagram, you've seen my indecision about adding sleeves or not.


I finally went with no sleeves because of the hot weather here in Cali. I do like the idea of having the contrast of one lace sleeve and one regular. Maybe another time.


Once the lining was done, I bound the neckline and armholes and coverstitched the hem.
And voila, mission accomplished!


Tuesday, April 21, 2015

DVF rocks! Wrap Dress Sew Along reveal at last! Kwik Sew 3408 Review


I am a huge DVF fan! Who isn't? Her wrap dresses are just timeless! I especially love the fabrics she uses. While I don't own a DVF wrap dress or the famous Vogue pattern, I have been on a quest for the "perfect" wrap dress.
The McCalls Pattern Conpany Wrap Dress Sew Along was a great incentive to try and work on replicating my latest DVF crush.

Isn't this dress gorgeous!!! The colors are so vibrant! I had to make it! Back in January, I looked online and found the perfect match at Gorgeous fabrics. The fabric is a matte jersey knit. The only thing is that it is on the light side. I have a few matte jersey fabrics and always thought they were medium weight like the one I used for my Red Burda twist dress. I guess I  was too excited to actually check the actual weight of the fabric. Anyway, it's not a deal breaker, it's just that it because it's so light, it shows all the lumps and bumps. At least it's not see-through so I didn't have to line it.


I went snoop shopping at Nordstrom to see the inside of the Gracie dress. The fabric used for DVF dress is a beefy stretch crepe fabric. As you can see the neckline is quite low. 


I set out to find a pattern that was simple enough to modify to replicate the DVF dress. Since the requirements of the Sew Along were to only use a McCalls Pattern Company pattern, I chose the Kwik Sew 3408.


It is a simple wrap dress pattern with bust darts. I cut the size medium and made a muslin to check the fit and will go with the size small next time. The pattern runs big. I had to take in 2 inches from the sides.


I made the following modifications:
-I made the dress a little wider at front by extending the top and bottom half of the pattern. 
-I raised the neckline for better coverage.   
-I removed 2 inches from the front and back bodice and 2 inches from the bottom front and back to make a finished 1.5 inch contrast band. For a neat finish, I folded the contrast band facing under the seam allowance and stitched in the ditch just like the DVF dress.
-I used stay tape on the shoulder seams and on the neck edges and the result is a very snug neckline with zero gaping.


-I omitted the sleeves, added binding to the armholes, folded it under and hand stitched it.
-I fused the skirt edge and hem and hand stitched them as well.


Dress before handstitching it. I dreaded it for days until I got the courage to finish it.


I poured over all the resources and tutorials that Meg provided during the Sew Along and they helped tremendously.

The first lady and I have a very good taste! Don't we?
Until next time!

Monday, April 20, 2015

Mad about stripes!! Lady Skater dress review!


When I was looking for a name for my blog, I narrowed my choices down to 2: Sew U Think U Can and Mad about Stripes. Obviously you know which one won but sometimes I wonder if I should have picked Mad about Stripes! Because let's face it! I have a love affair with stripes!

Sooo, I present to you my latest knock off! The Bailey44 Torres dress. I saw this dress at Anthropologie a while back and vowed to make it when I find the right fabric.


I entered the PR Best Patterns contest last month and finished 2 dresses including this one but failed to write the reviews before the deadline! I got tired and thought! Oh well, next time I'll manage my time better!

I made a few changes to the original Lady Skater pattern. I changed the neckline to a boat neck, reduced the flare on the skirt, shortened the bodice top(it is way too long the way it's drafted). Minor changes but the challenge with this dress was matching the stripes!


Stripe matching isn't for the faint of heart!! But I persevered and it paid off! If you follow me on Instagram, you've seen my progress. This was my first attempt at matching the stripes on the front bodice. It didn't look like the original.
I put it away and woke up in the middle of the night with a solution! You see, I realized that the left top piece was a mirror image of the bottom piece! So I went back, took it down(Did I say I hated undoing seams!!!) and cut new bottom pieces by placing the left top piece right side together over the fabric matching the stripes. Once it's cut, you open it it up and bingo! You have a perfect chevron and all you have to do is pin the stripes, machine baste and serge. Voila!!!


I am quite proud of my stripe matching!! I think it was well worth the pain!!!


I did the same thing in the back and fully lined the dress. The fabric is quite thin so it needed to be lined. I got this ITY knit from Fabrics R'Us in San Jose. I'm glad I bought 4 yards of it because I had to recut most pieces. The original Anthropologie dress was $168. Mine cost me less than $20!


 I will be taking this dress to PR Los Angeles this week! So excited to attend PR weekend for the 2nd time! Last time was in San Francisco.

Saturday, February 28, 2015

February Burda Challenge 2015: Michael Kors Dress Knock Off Burda 02/2008 #103 Twist Front Halter Dress Review


"Come on, baby, let's do the twist!" is what I was humming while getting ready to take pictures of this dress.
Twist is it indeed with this red little number! I really like Burda patterns! They are well drafted most of the time and this one is no exception. 
For my February Burda Challenge, I wanted to make something red and went through my magazines stash of February issues. I set my mind on the twist front dress from the February 2008 issue, also dubbed as the Tippi Hedren dress by some PR reviewers back then. I also went through my saved designer dress pictures to see if I could knock one off and found this Michael Kors Red twist front dress halter dress worn by Kate Beckinsale in 2012.


My only concern was figuring out how the twist was sewn and how to modify the top into a halter. I am so grateful for Tany for reviewing this dress and for the clear pictures and explanations she provided on her blog. I studied her pictures carefully and had this aha moment after a few minutes! As for the halter, I used Simplicity... pattern for the collar.


I had the perfect fabric in my stash. A yummy red matte jersey knit fabric I have been saving for years for the right dress. What I needed to find next, was a python leather print fabric or something similar at least. I looked online and in my local stores and found nothing. I was kind of apprehensive to sew a round collar in leather because it would need to be ironed and with leather it would have been impossible. After a few days, I remembered that I had some red python print suede ribbon in my stash. The only problem was that it was only 2 inches wide so it couldn't work for the whole collar, but if I cut it up and appliqued it on the collar, it might actually do the trick!


I printed off a giraffe print template online and used it to cut up the ribbon. Then, I appliqued them onto the collar using Steam a Seam light and topstitched them down.


As for the dress, like I said, I used the Burda 02/2008 dress pattern 103.


I traced and cut up the size 42 and later had to take in half an inch on the sides. Great pattern but poor instructions! Nothing new with Burda! I omitted the sleeves and the cowl neck band obviously. I removed 2 inches from the top of the bodice and enlarged it using a slash and spread method so it would gather well.
I love how the twist was drafted. It actually makes your waist look slimmer!


Following the advice of a fellow PR reviewer, I connected both front skirt pieces thus making it a faux wrap to avoid exposure in windy situations. I copied the idea from an RTW wrap dress I own. I will be using that a lot in the future but the only downside is that it uses up fabric.
I didn't cut the back piece on the fold as suggested but added a center back seam and a waist seam. A waist seam to avoid any rippling effect and a center back seam because I wanted to add a zipper because of the collar. I wasn't too keen on adding an invisible zipper to the dress so imagine my joy when my friend/nutrition coach/fitness trainer Natasha who blogs at Fabulously Domestic asked me to fix a dress for her!!!


Isn't her dress gorgeous??? The back of her dress has a slit with buttons. It was just what I needed!!!


So, I lined the top with some red mesh I had in my stash. It makes for a neat inside of the dress.


All in all, the construction went pretty smooth except for the collar and for the loops which I had to undo several times because they kept on shifting. I reduce the size of the collar to make it 1 inch total in finished width. The two buttons are some red pearls I had in my jewelry stash for jewelry.


I also pegged the skirt by removing 4 inches all around at the bottom. I used my coverstitch for the hem. I think I added about 3 inches to the length of the skirt.
I wanted to wear this dress for Valentine's Day and was kind of bummed not to be able to finish the dress on time but at least it's finished. My February Challenge is completed and I have a spanking brand new cocktail dress for a future special event.


The asking price for the Michael Kors dress back in 2012 was a hefty 1795 dollars and it was sold out. I'm pretty sure my dress cost less than $30. I don't recall where exactly I bought the red matte jersey fabric but I don't think I paid more than $20 for it. I may have found it in a remnant bin. I used 2 yards of the fabric and have a bit more than a yard left.


So, Burda Challenge February 2015: checked. Stashbusting 2015: checked. Little red dress: checked. Happy face: checked. So, "come on baby, let's do the twist"!


Wednesday, February 11, 2015

Review McCalls 6886: The sequined LBD.


I don't know why I waited so long to use this pattern!! It has great reviews on PR but I didn't think of trying it until I had the Christmas party last December to go to. Not only did I procrastinate but I couldn't make up my mind on what to sew. So, I sewed both my metallic gold knit dress and this little number on the day of the party. Talk about sewing under stress!
I finished this black one first. I cut both dresses the night before and went to bed early knowing that it would be better for me to wake up early and refreshed to sew, rather than staying up late and taking the risk to make a mistake. I've learned my lesson from past debacles!


I started sewing this black dress around 7:00 and by 9:00, it was done and lined. When I tried it on and hubby gave me the thumbs up. My kids liked it too but thought it was a bit too dark which led me to get back to the sewing table in order to finish the gold wrap dress ignoring hubby who was rolling his eyes in desperation.
By 4:00, I had finished the gold dress. It definitely got the preference over the black one from everyone at home and a few friends I had texted the pictures to.


Back to the black dress. It was such an easy dress to sew up. 3 pattern pieces if you choose the sleeve version. I did break a few needles in the process because of the tiny sequins but all in all it was a quick sew with the serger.


The pattern is the McCalls 6886. I made the view B with the scoop neck from the view C. I cut the size 12 and had to take it in a little.


The fabric, a sequined wave cotton knit came from my stash. I think I got it on Etsy about a year ago. The sequins are sewn on with nylon thread on top and cotton thread underneath but to avoid any sort of scratchiness, lined it using a black lining knit fabric also from my stash. I only lined the front and back and not the sleeves. So far, the sleeves are not scratchy.


Originally, I made it in a maxi length but last week I decided to shorten it. I figured it would be much easier to wear it more often if it's shorter then longer.
I chose not to hem it. I could have but I thought it would be interesting since it's a knit and won't ravel to just trim it along the wavy sequin pattern. I hemmed the lining with my coverstitch.
I really like this dress and will be making more in the future.


.