
This month is Indie Pattern Month over at The Monthly Stitch with its weekly sewing challenges. It's always been hard for me to maintain my own blog and even though I wanted to participate in their monthly challenges, I could never find the time to do so. Enter this week's challenge called Hack it.

And you know how much I love to hack existing patterns! I decided not to pass this one up. And to kill a bird with two stones, I will also enter this dress into another challenge organized by a fellow French blogger styleetcie.canalblog.com.

As the title stated, I used the Bowline sweater pattern by Papercut Patterns and turned it into a sleeveless dress! When this pattern came out, I loved its originality and saw some cute versions on the blogosphere.

Then last Christmas, I wanted to make a dress out of a gorgeous dark red animal print knit I've been hoarding for the longest. I started roaming through my PDF patterns and had a lightbulb moment. What if I took the sleeves out and added a skirt, it would make a cool dress with an equally cool neckline.

I read the instructions over and over again to understand the sort of burrito method they used for the shoulder drape. And since when it comes to knits, I can be quite fearless, I cut a medium size skipping a muslin, pinned it all together (ouch, I need to stop doing that!), tried it on and I was sold!
Since it was drafted to be a sweater, the armholes were really low but that was an easy fix. I ended up not sewing the dress because I had promised my youngest one that I would make her a Christmas dress.

Fast forward July, and the Indie Pattern Month challenge. I initially wanted to do yet another hack of the Lodo dress but figured I should take a break from that pattern after making 5 of them. Looking through my stash, I came across this cute tie-dye rayon knit fabric bought in May from Califabrics.

It wasn't too hard to figure it out. Below are pics (I apologize for the crappiness of the phone pics!) of the construction.

I proceeded as per instructions omitting only the sleeves


In order to sew the straps down, you have to hem or coverstitch the armholes beforehand. The next 2 steps are in the instructions but I'm adding the pics anyway.

The pattern instructions are very well done! No surprises here.

Below is the burrito that makes the cool drape happen.


And voila! C'est fait! I did take a wedge out the side seams about 1 1/2 inches off at the armholes tapering to nothing at the waist. Otherwise, it would have been indecently low.

The skirt is pretty straightforward. I drafted 2 rectangles the same width as the bottom of the bodice and added pockets and an elastic at the waist. Threads magazine offered a inseam pockets template in one of their recent email newsletter, so I used that.

Love, love, love this neckline. Topstitching knit straps is not for the faint of heart!

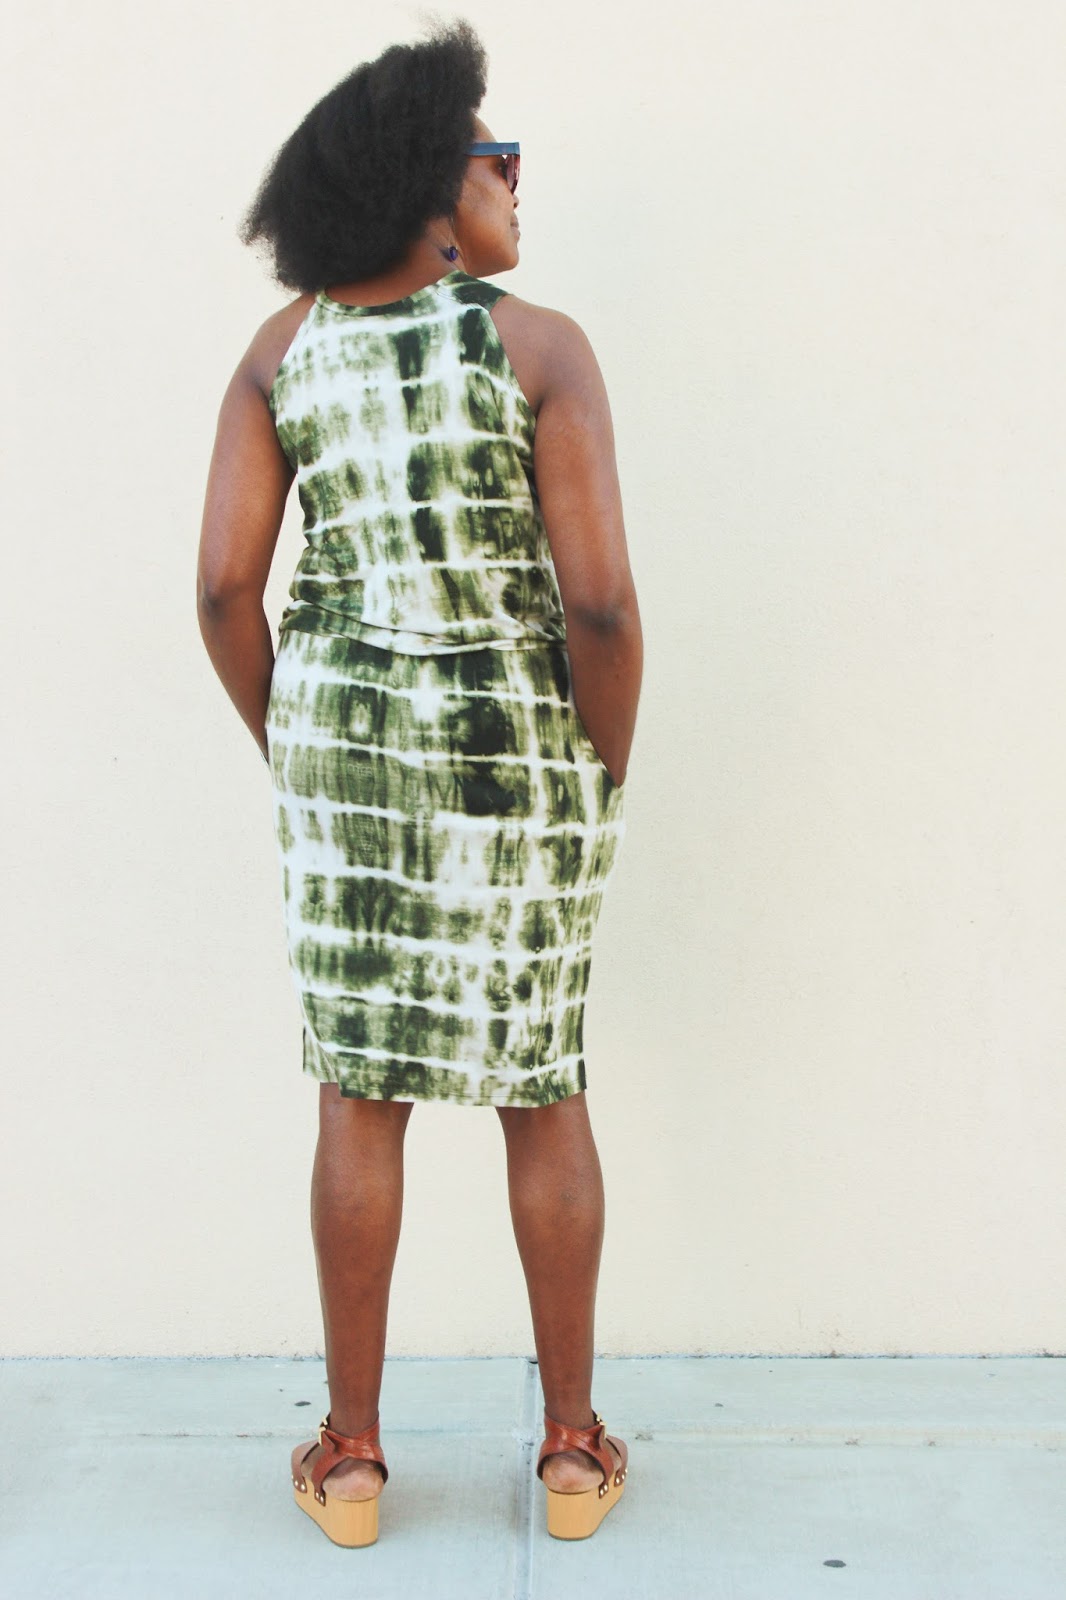
The back view.

There you have it. It took a day to sew this up. Okay maybe under pressure! But honestly, it's truly easy!

My photographer (aka my 13 years old) was reluctant to take these pictures. She's been begging me to do a blog post about the speech tournaments dresses and skirt I made for her. You'll be seeing those soon and many more. I've been very productive since summer started and was very diligent to get some sewing done before homeschool and speech season kicks off in August.
A bientot!
I LOVE IT! the ideal summer dress, interesting details, knit fabric, cut-in armhole shaping, pockets. Fantastic. and August - back to the school schedule, eek your summer is going by fast.
ReplyDeleteThanks Beth! Summer has flown by fast but I got a lot of sewing done. The challenge will be to get some pictures taken for the next blog posts.
DeleteI love your dress! It is stylish and fits you beautifully.
ReplyDeleteThanks Tomasa! It's going to be in heavy rotation in my wardrobe.
DeleteVery nice! I like this version especially because the armholes on the long-sleeve one always look like they have bunched fabric under the armhole. Your version is much more smooth!
ReplyDeleteThanks Meg! I know right! I haven't made the long sleeve version but if I do I suspect I might still have to reduce the armholes.
DeleteHow interesting!
ReplyDeleteI like it.
Mary in Thailand
Wow, this is so clever! And beautiful!
ReplyDeleteThanks so much!! I enjoy wearing too!
Deletei love this.. i'm definitely going to try it out!
ReplyDeleteThanks! You should definitely try it!
DeleteSure! No problem!
ReplyDelete